Configuring a NAS (Network Attached Storage) server on your Freebox Delta can significantly change the way you store and access your personal data. This process allows you to centralize your files on a home network, making it easier to share and back up your documents, photos, and videos. To successfully carry out this operation, a series of precise steps must be followed, from preparing your Freebox to configuring the sharing settings. Practical tips will also help you secure your data and optimize the performance of your NAS server.
Preparation and Installation of Hard Drives in the Freebox Delta
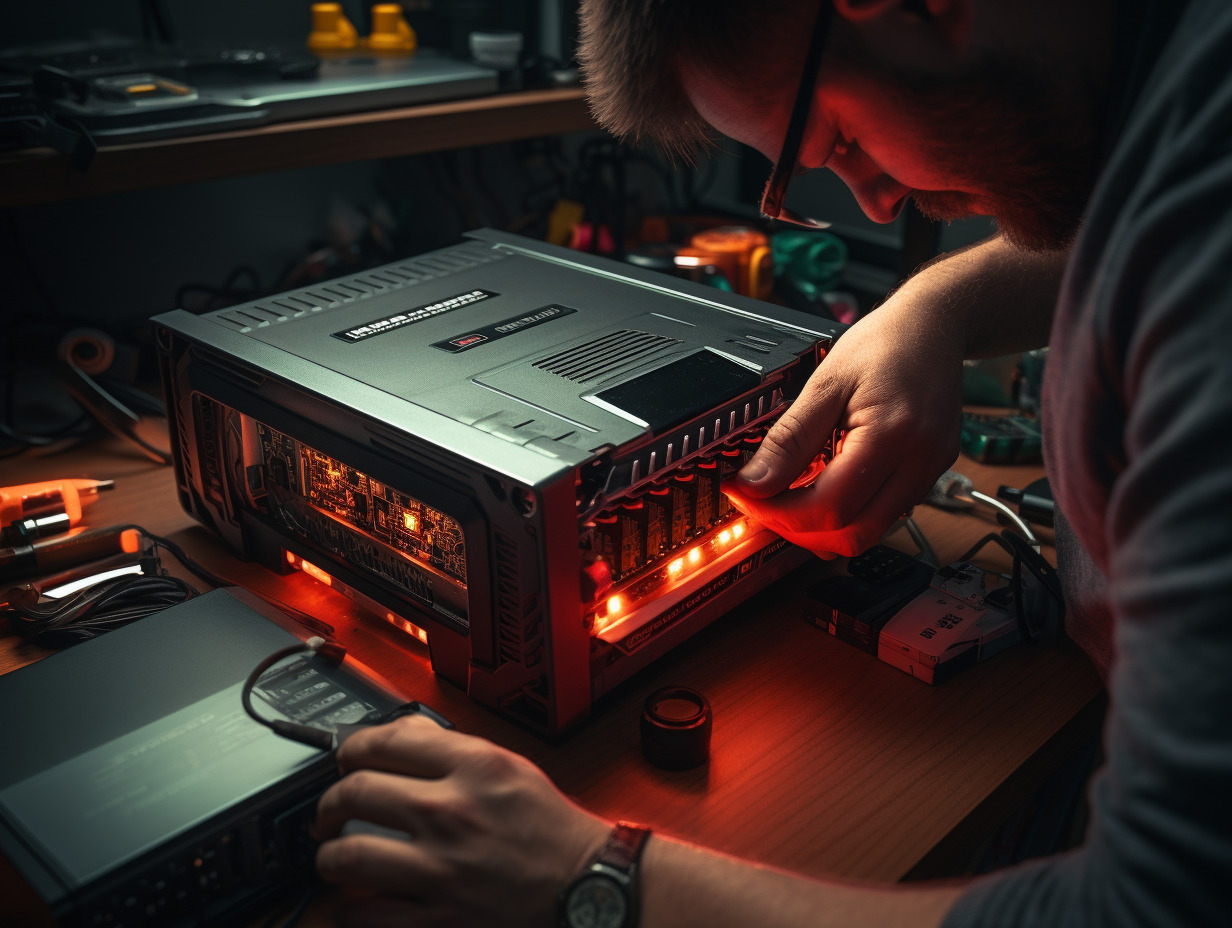
Before diving into the heart of the matter, understand the procedure for preparing and installing hard drives in your Freebox Delta. The Freebox Delta has several slots to accommodate hard drives. These connect via SATA connectors, a standard for hard drive interfaces.
First, choose your drives based on your storage capacity and security needs. The installation itself is straightforward: insert the drives into the designated slots of the Freebox Delta. Ensure they are properly connected using the SATA connectors. Be sure to handle the drives carefully to prevent any failure.
The RAID configuration is the next step. The choice of RAID level will depend on your priorities between capacity, performance, and security. With RAID 0, enjoy a large storage space but with low security. RAID 1 offers high security through data duplication. For a balance between space and security, RAID 5 can be considered, while RAID 10 combines the advantages of RAID 0 and RAID 1 for increased capacity and security.
After adding the NAS hard drives and setting up the RAID system, the Freebox Delta is ready for NAS server configuration. Follow how to configure your NAS server on Freebox Delta in a few simple steps to benefit from efficient and secure network storage at home.
Configuration and Management of the NAS Server on Freebox OS
Accessing the Freebox OS management interface is remarkably simple. Log in to the usual address of your Freebox Server or enter the corresponding IP address in a web browser. Once on the interface, managing the Freebox settings is done with intuitive fluidity. These settings will allow you to fully control your Freebox NAS server.
Creating an FTP server within your local network is an essential feature of the Freebox Delta NAS. This option, easily configurable, optimizes data exchanges between authorized users. Secure these exchanges with usernames and passwords, ensuring robust protection of your personal or professional data.
The Freebox OS, the true brain of the operation, offers a range of services dedicated to configuring your NAS server. Explore data sharing options and customize access according to user profiles. The NAS connection then becomes a breeze for the initiated, allowing for efficient and secure daily management.
Security, the cornerstone of any NAS infrastructure, receives special attention. At the heart of Freebox OS, advanced security protocols are at your disposal. Carefully configure the access rights and sharing levels for each folder and file stored on your server. Mastering NAS security is within reach, protecting your NAS server data from unauthorized access.